Want a FREE quote? (813) 853 0005

Easter Sale — 20%OFF for a Limited Time
Black Friday VIP Access is Here!
Enjoy limited-time savings on our premium wall panel collections.
Your Complete Installation Guide
For any additional information on installation services please contact us at support@paneldecorhub.com or +1 (813) 853 0005.
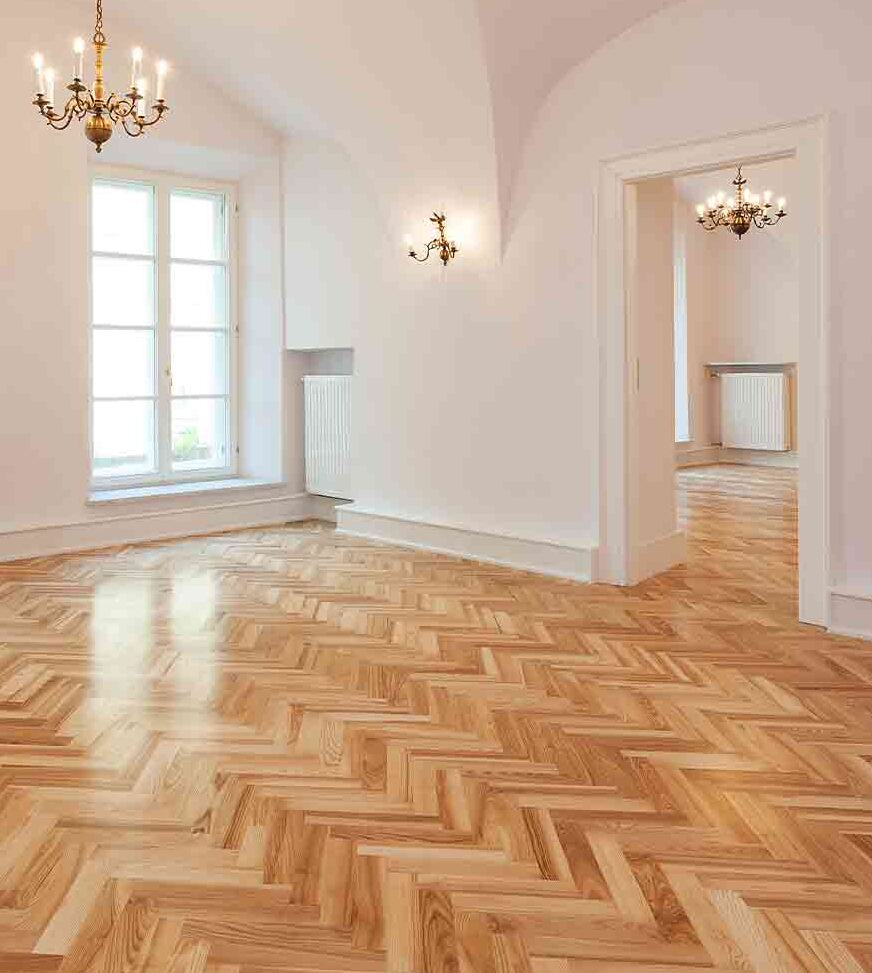
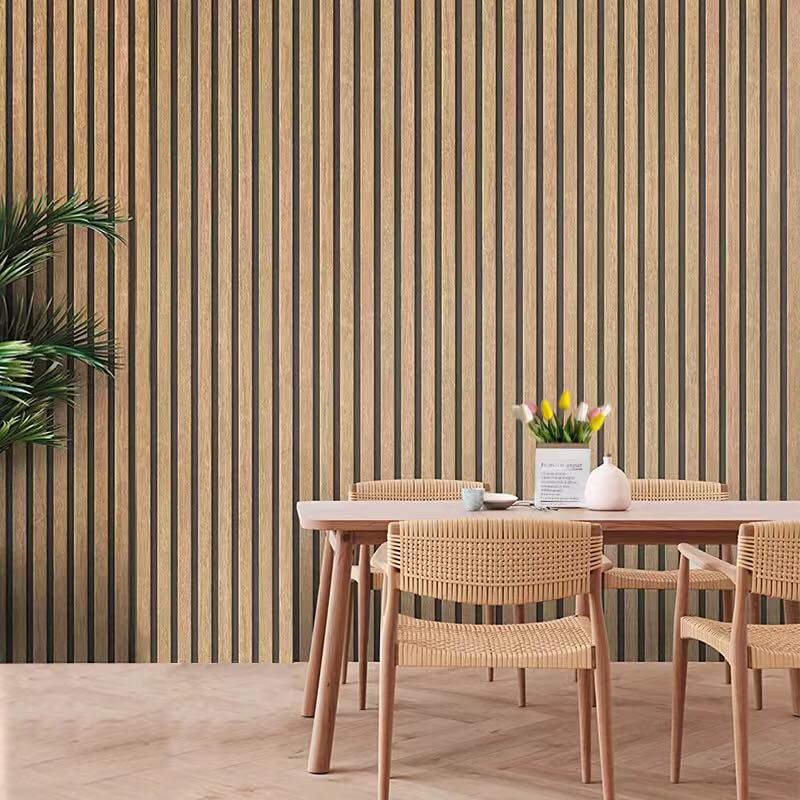
Interior Wood Panels
Materials
Panel Decor wood Panels features a 0.35” colored PET Polyester Nonwoven fabric with 1.06” x 0.43” strips in colored MDF veneer with real wood veneer.
The strips are spaced 0.52” apart.
In The Box
Each box contains two panels that seamlessly join next to each other.
Natural wood veneer may vary in color, grain structure, and appearance.
Dimensions
- 8ft – 94.49″ x 23.82″ x 0.83″
- 10ft – 118.11″ x 23.82″ x 0.83″
- 12ft – 143.70″ x 23.82″ x 0.83″
Installation Options
- Glue: Use construction glue or grab adhesive.
- Screws: Use black screws for black backing or silver/grey for grey backing. Use a minimum of 9 screws per panel at specified intervals.
- Screws into Timber Battens: Screw 1.8” timber battens to the wall and then screw panels directly into the battens through the acoustic felt.
Precision Cutting
Use a sharp saw for widthwise cuts and a craft knife for lengthwise cuts through the felt.
Preserving Your Panels
For optimal care, consider applying a protective finish such as wood oil to the panels to maintain their natural appearance. This will help prevent dust buildup, which can be easily removed with light dusting or vacuuming. If you prefer to leave the panels unfinished, simply wipe them down with a dry cloth to keep them clean.
LUMAPanel - LED Strips
Package Contents
- Rubber Strip – A 25FT flexible cover for LED protection.
- LED Light Strip – A 25FT strip for illumination.
- Power Cable – For connecting to the power source.
- Remote Control – For adjusting colors and brightness.
Installation Steps
Dimensions
- L 300″ x W 0.72″
Exterior Slat Wall Panels
Materials & Panel Options
Panel Types:
- 9.5 ft WPC panels
- 11.8 ft WPC panels
Joist (Keel) Options:
- Aluminum or WPC joists recommended for durability.
- Alternative: Cut WPC panels into slats and use them as joists.
Installation Steps
- Prepare the Surface:
Ensure the wall is clean, dry, and flat.
- Install Joists (Keels):
Space joists 24 inches apart. Start the lower joist at least 2-3 inches above the floor.
Use stainless steel screws or concrete screws for stability.
Always pre- drill a pilot hole before screwing to avoid damage to WPC products.
- Horizontal Installation Tips:
At the corners, use a 45° angle cut for a seamless finish or an L-shape trim.
Use edge trim to finish the top of the wall (seamless finish) or L-shape.
- Panel Installation:
Attach panels to the joists using external screws.
Leave a 1/16 inch ( approximately 1 mm) gap between panels for expansion.
- Trims and Corners:
Install corners and trims first.
Slide panels into the trims.
- Finishing:
Ensure all panels are level and evenly spaced.
Clean and seal edges if needed.
Windows and doors should be finished with L-Shape or Edge trim.
Important Considerations
- Joists Recommended:
Install on joists (keels) to prevent mold. Direct wall installation is possible but not recommended due to moisture buildup.
- Screws:
Use external-grade screws for durability. For concrete walls, use concrete screws for proper anchoring.
Preserving Your Panels
Clean regularly with mild soap and water using a soft cloth or sponge. Avoid abrasive cleaners, harsh chemicals, and high-pressure washing. For stubborn stains, use a soft-bristle brush. Ensure proper drainage and ventilation to prevent moisture buildup and inspect periodically for any wear or damage.
FLEX Stone Veneers
Key Features
- Real Stone Surface
- Flexible & Lightweight
- Thin Profile
- Indoor & Outdoor Use
- Weather & UV Resistant
- Fire-Resistant
- Durable & Long-Lasting
- Eco-Friendly
Dimensions
- H 96″ x W 48″
Applications
- Interior & exterior walls
- Kitchen backsplashes
- Furniture surfacing
- Ceilings and columns
- Decorative panels and signage
- RVs, yachts, and other mobile interiors
- Outdoor patios, facades, and landscaping elements
Installation Steps
- Surface Preparation
Ensure the surface is clean, dry, and free of dust and grease. - Cutting
Use a utility knife, scissors, or a wet saw for precise cuts. - Adhesive Application
Use recommended adhesives such as construction adhesive, contact cement, or epoxy, depending on the substrate. You may use screws to install at corners, as well as to help keep the surface flat while adhesives are drying. - Press & Secure
Apply pressure evenly to ensure a firm bond. - Sealing (Optional)
Apply a stone sealer for added protection, especially in high-moisture or outdoor areas.
Maintenance & Care
- Clean with a damp cloth and mild detergent.
- Avoid abrasive cleaners that may scratch the surface.
- For outdoor applications, periodic resealing may be recommended.
Faux Stone PU Panels
Materials
Crafted from high-quality PU (polyurethane) material.
Dimensions
- H 119″ x W 47″
- H 47.5″ x W 24″
- H 94″ x W 23.5″
Installation Steps
- Prepare the Surface
Ensure that the surface where the PU stone panels will be installed is clean, dry, and free from dust, grease, or other contaminants.
If necessary, apply a suitable primer or bonding agent to the surface to improve adhesions. - Plan the Layout
Determine the layout and positioning of the PU stone panels on the surface, taking into account any design considerations or architectural features.
Use a level and straightedge to ensure that the panels will be installed evenly and aligned correctly. - Cut Panels to Size
Measure and mark the PU stone panels according to the desired dimensions and layout.
Use a saw, utility knife, or other appropriate cutting tool to trim the panels to size, taking care to make clean, accurate cuts. - Apply Adhesive
Apply a suitable construction adhesive or panel adhesive to the back of each PU stone panel, following the manufacturer’s instructions.
Ensure that the adhesive is spread evenly across the entire back surface of the panel, with extra attention to the edges and corners. - Install Panels
Carefully position the first PU stone panel onto the prepared surface, pressing it firmly into place.
Use a level to ensure that the panel is plumb and level, making any adjustments as needed.
Continue installing additional panels, working from one corner or edge outward in a systematic manner. - Secure Panels
Once all panels are installed, use brads, nails, or screws to secure them to the surface, if necessary.
Be sure to countersink any fasteners to ensure a flush finish. - Fill Joints and Gaps
Fill any gaps between panels and around the perimeter with a suitable sealant or caulking compound, ensuring a watertight seal and a seamless appearance. - Finish and Clean Up
Allow the adhesive and sealant to cure according to the manufacturer’s instructions.
Once cured, remove any excess adhesive or sealant and clean the surface of the PU stone panels to remove any dirt or debris.
Free Shipping
Free Shipping on select orders
Money Guarantee
30-day money-back guarantee
Online Support
24 hours a day, 7 days a week
Flexible Payment
Pay with Multiple Credit Cards
Follow us on Instagram
Tag @PanelDecorHub in your Instagram photos for a chance to be featured here.